
I recently posted about partial completion of a treehouse for my kids, A-Bomb and the Terminator and committed to writing a little more about it. As to how many sections or how long it will take till I write them all, I guess that is dependent on how much I do to the tree house and how long it takes me. But I’m in a good position to describe how I got the basic strucuture up so here it is.
The history
When we moved into our current home we were unaware that part of the garden was actually ours. Upon inspection found a strip of land running away from the house that was heavily overgrown. In it’s midst was a large old beech tree in a very poor state. Several smaller trees were fallen against it. The boughs were laden with dead wood and it swamped a sizable portion of our undiscovered country.
So it was with no great qualms we asked a tree surgeon to come in and cut it down. This and subsequent work cleared the area and returned light to a substantial area that had suffered in shade for many years. It also left a rather substantial stump, probably 800mm in diameter and 1500m tall. Once I saw this my first thought was “that would make a great treehouse”. The rest as they say, is a lot of hard work and maybe history.
Designing the tree house
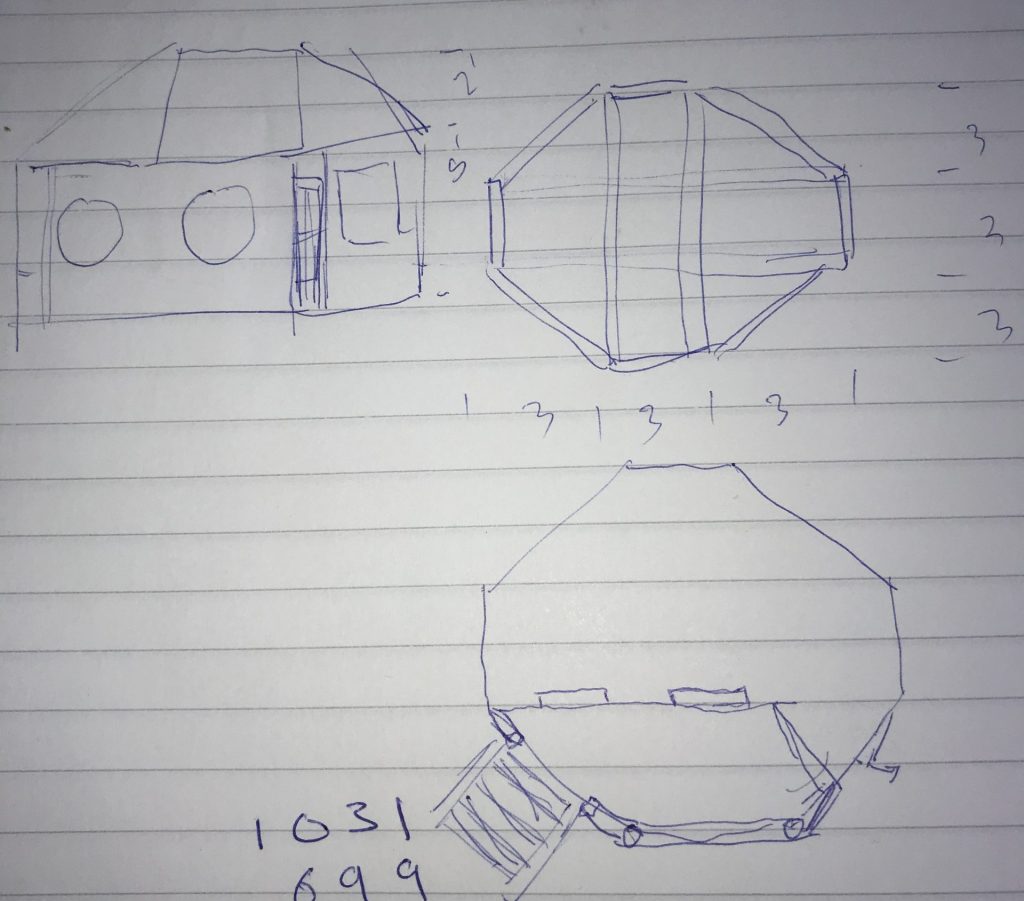
I knew given the stump size it had to be a cantilever design in some respect. What I wasn’t sure about was if that would have posts supporting it or angled beams back to the stump. I considered hexagonol desgins with pitched roofs. Stretched hexagon platforms with houses over part of the base. Or even something vaguely ship shaped. The designs were all around a 2.4m to 3.6m square side maximum largely driven by the available space and size of easily available timbers.
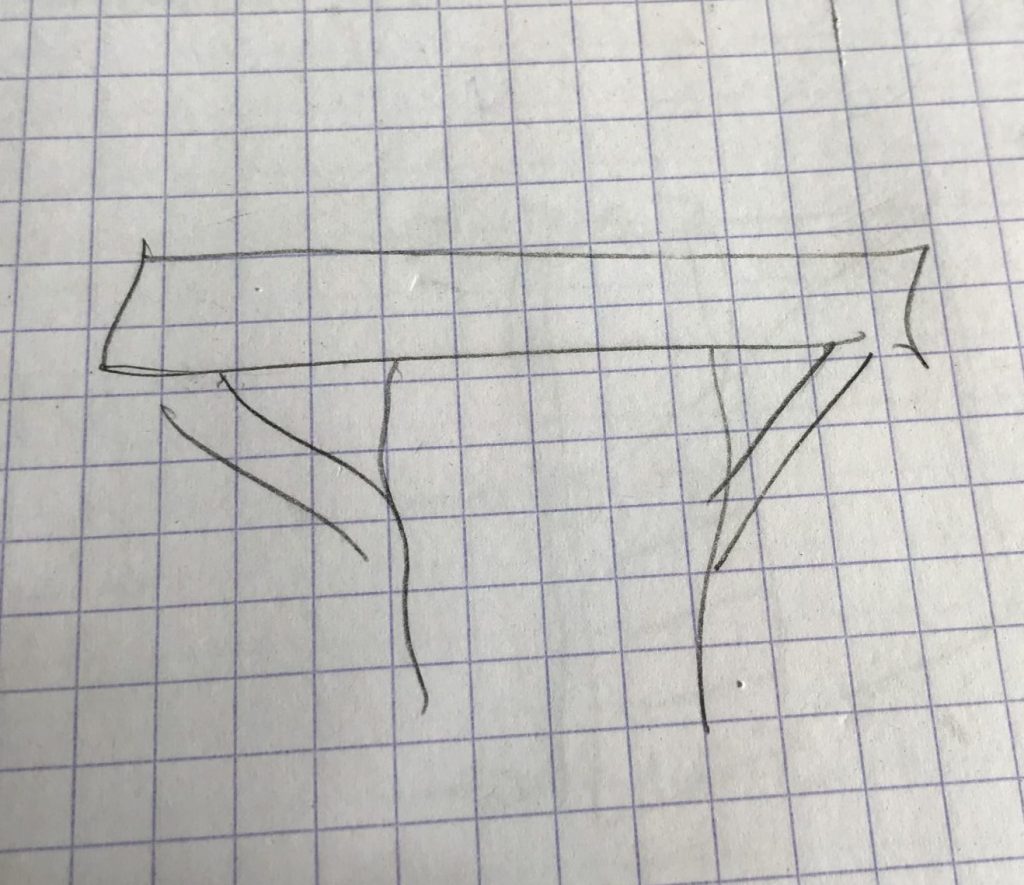
In the end I settled on a design 3.6m central longitudinal supports and 2.4m cross supports. With an increased concentration of beams at the centre where the stump is to take the load. I chose to cut the longitudinal members with the a 50% through beam notch at the bottom and the cross members with a corresponding notch at the top.
Assembling the tree house platform.
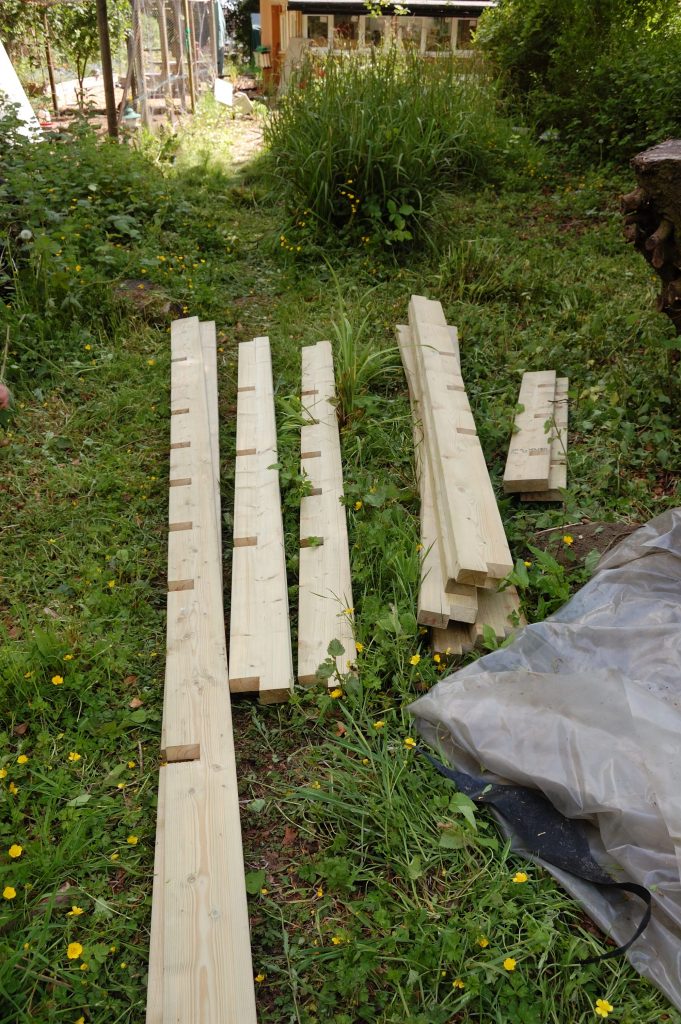
I used 6″ by 2″ treated structural timber timber (145mm by 45mm). For convenience I bought 3.6m lengths which meant I could cut down to 2.4m length with 1.2 m off cuts that ould be used for some of my additional suppports in the centre. My Bosch mitre saw was perfect for choping to length with it’s deep cut, but I try as I might I couldn’t st it up to give a 72.5mm notch cut in the beams.
Instead I lined all the beams up, marked out the common cuts and used a cicrular saw to cut the notches to 50mm depth, knocked out the waste then finished the notch with a handsaw and chisel. Not quite as elegant as I had hoped but effective nonetheless.
Once I had cut all the beams the next step was fitting them. Not exactly meccano but not rocket science either. Predictably I had cut a few notches tight, one or two beams warped a little in the period between cutting and fitting. No doubt as a consequence of stresses being released. But using a combination of F-clamps, lump hammers and cursing I managed to get all the joints together and the frame complete. I can at least be sure the tight joints aren’t going anywhere anytime soon.
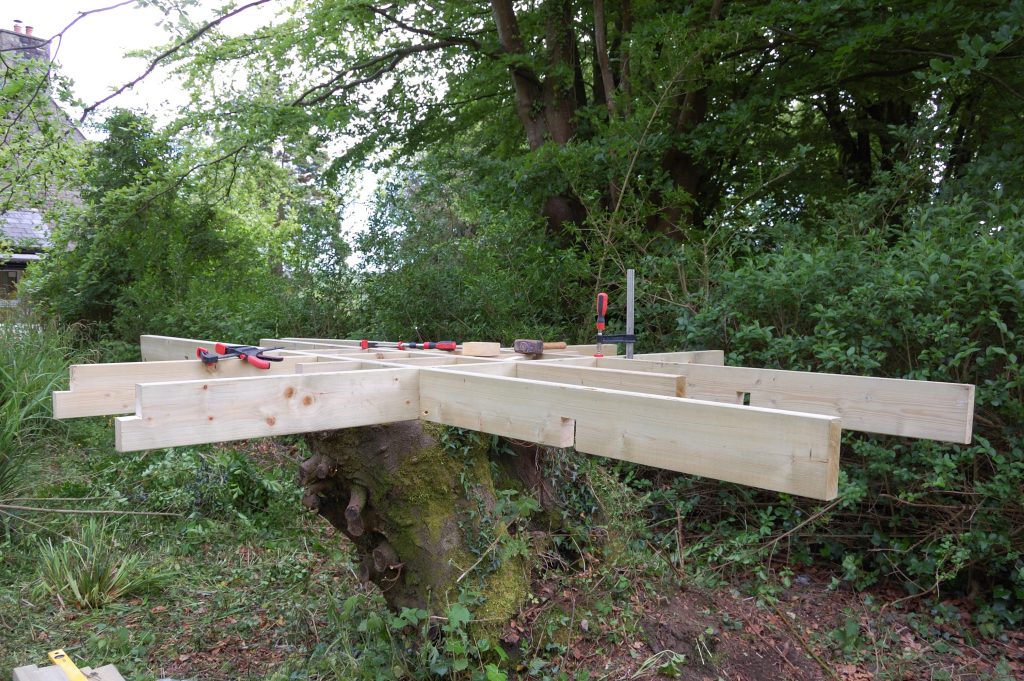
I assembled the platform structure centred on the stump but with no effort to level it initially. I secured all the joints with screws.

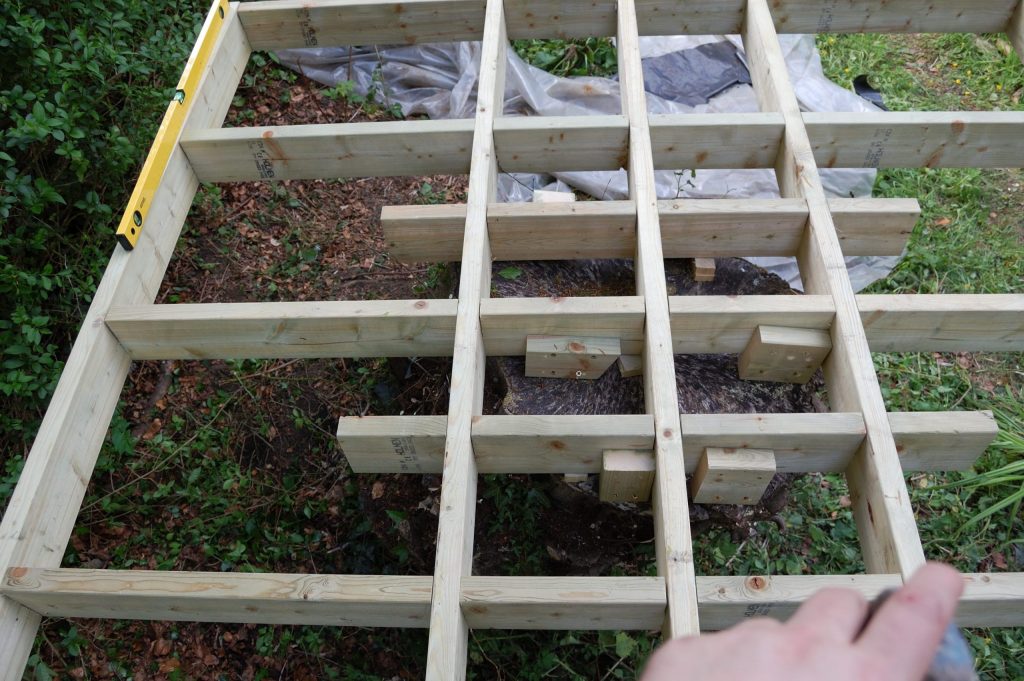
Levelling the platform
Although the stump was moderately level it was still far too wonky for the tree house. I set about shimming the centre nest of beams using my 4′ spirit level. I shimmed the beams with small offcuts of wood from the ready supply in the workshop. Once I was happy I then cut a series of blocks from 6″ by 2″ offcuts screwed these firmly to the stump and then attached them to platform support beams. This complements the shims and secure the platform down.
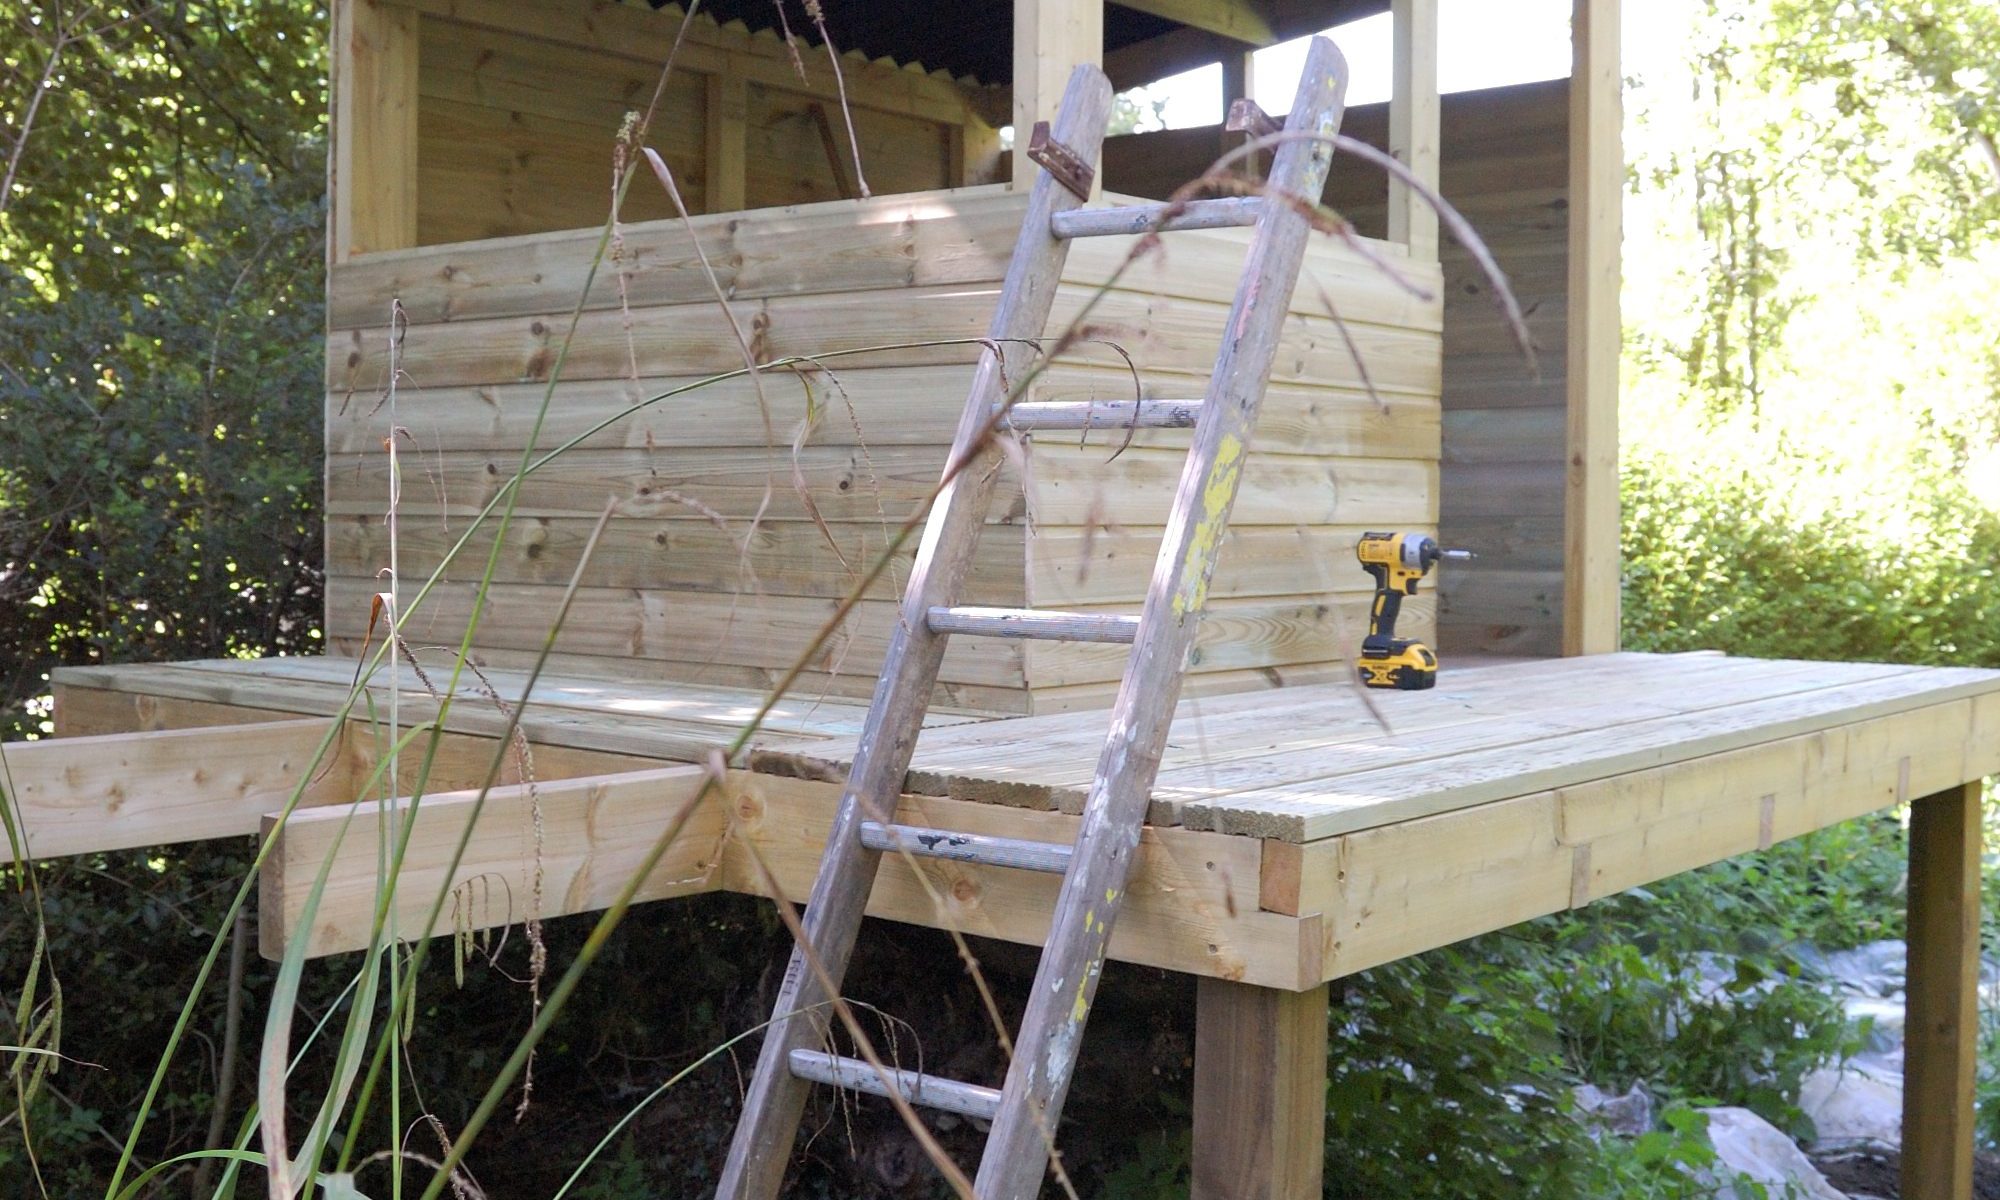
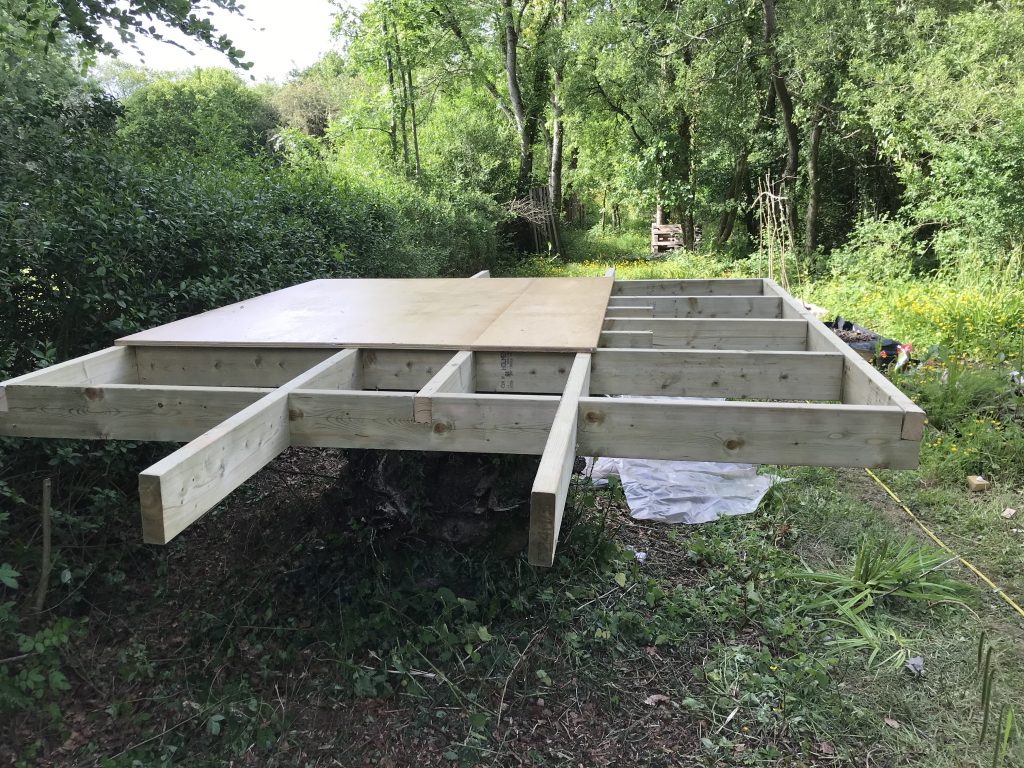
The fina stage was to cut some marine ply to act as the tree house floor. This was 18mm thick and once I had secured it sealed it with some floor varnish. The other areas will be the exterior decking outside the tree house.
You can find some of my other wood working efforts here.