
So as I’ve posted before I’ve done some hot smoking in the past using my Callow Smoker. But I asked EmmCee for a cold smoke generator for my birthday and she duly delivered. So this is my first effort at cold smoking.
So EmmCee bought me a ProQ Cold Smoke Generator. Hot smoking is typically a slow and low cooking process where saturated wood is added to the charcoal or briquettes. The smoke generated infuses the meat whilst it’s cooking. Cold smoking however is done at much lower temperatures and doesn’t cook the meat. So it’s useful for smoking cured or uncooked products like bacon, air dried meats, fish, cheese and vegetables.
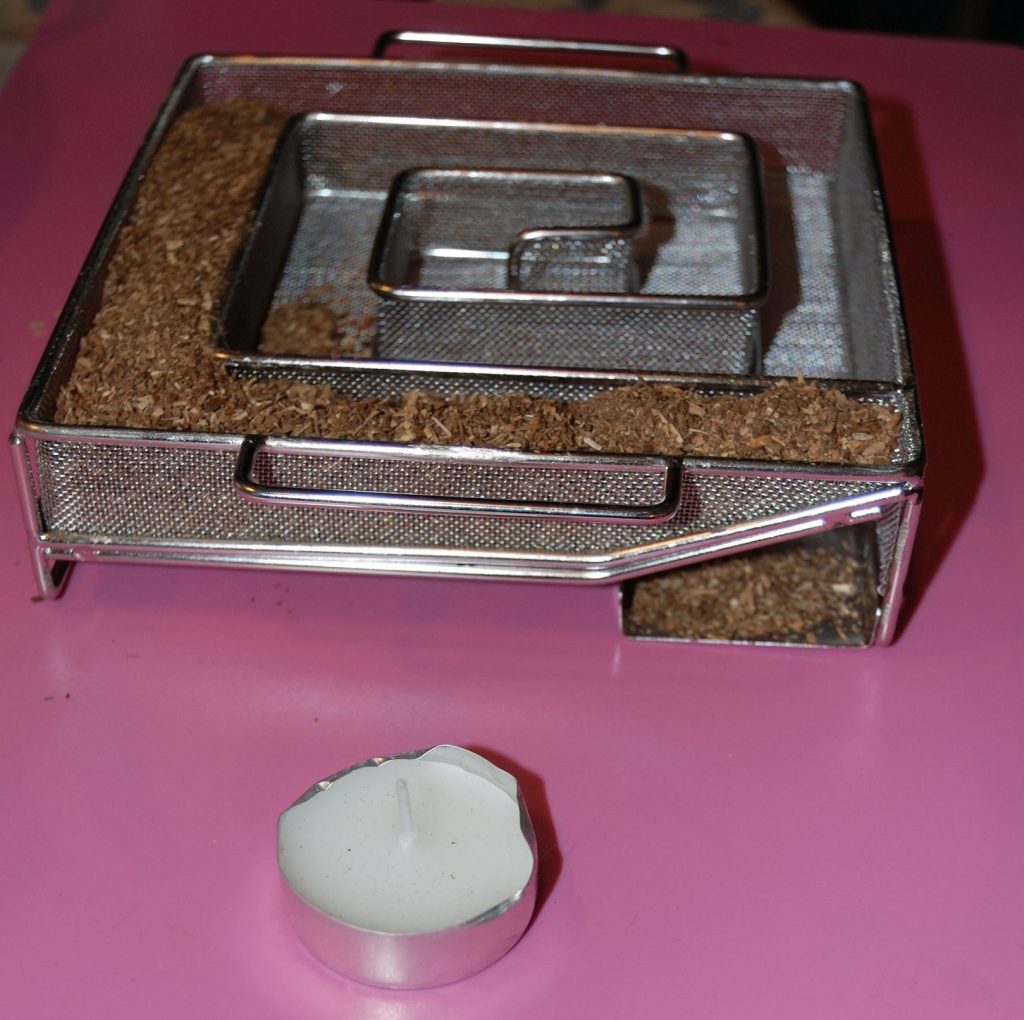
The ProQ cold smoke generator is a nice piece of kit. Lovely and shiny stainless steel, at least before you use it the first time! Elegantly simple, a wire mesh in which wood dust sits and smoulders in a vaguely spiral labrynth. Because there is no flame, temperatures are low and the produce isn’t cooked by the process.
Cold Smoke Generator
It’s all very simple really. I poured apple wood dust into the smoker and tamped it down. The kit includes a small tea candle and I just lit this and placed it beneath the start of the labrynth. Within 30 seconds the smouldering has started and I removed the candle.
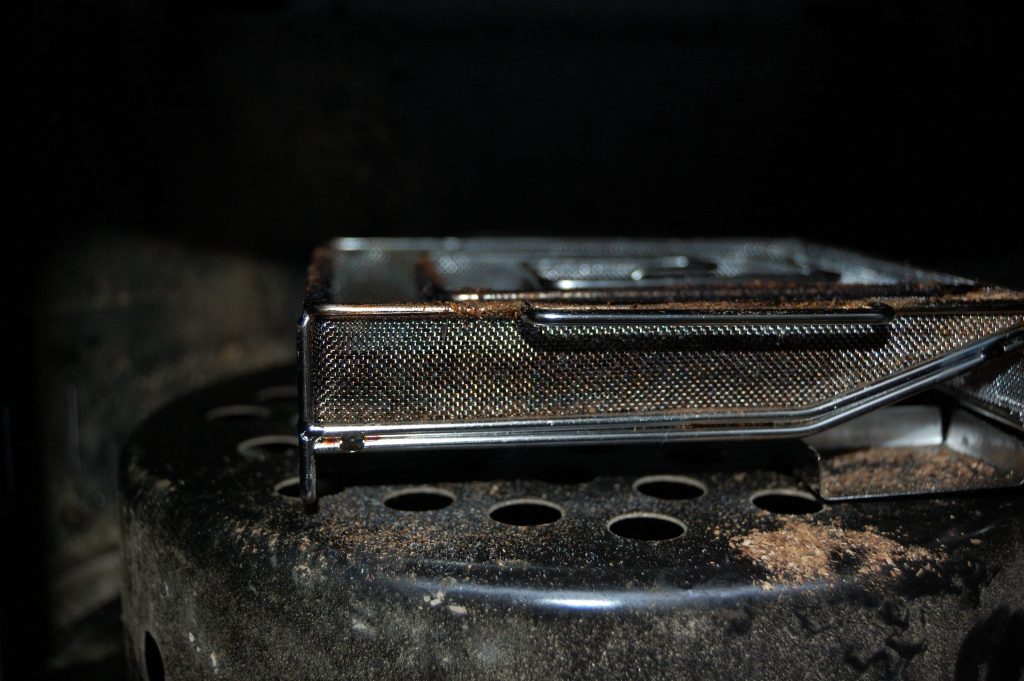
Having read around a few forums and the advice that comes with the cold smoke generator I settled on the following set up. I removed the water pan from my Callow Smoker, then turned the coal basket over in the bottom to create a platform for the ProQ. Then I opened all of the top and bottom vents. The rationale for this being that a flow of smoke is to be encouraged, and the boxing in of the smoke discouraged. Otherwise sooty particles are more likely to settle giving the food a bitter unpleasant taste.
The cold smoking process
I was smoking raw and cooked foods at the same time so the raw meat went on the lowest shelf. The cheese and raw garlic on the upper shelf to avoid any cross contamination. A small risk still exists from airflow-related transfer but I judged this low enough that I was willing to accept it. If I was doing this commercially, or for other people, I would probably do separate smokings to avoid this risk. The other risk to manage is a microbial one, I chose a cool day to smoke since all your food is sitting at ambient temperature during the process. 20C is often cited as the maximum at which you should smoke but the lower the better, say 5C-10C ideally.
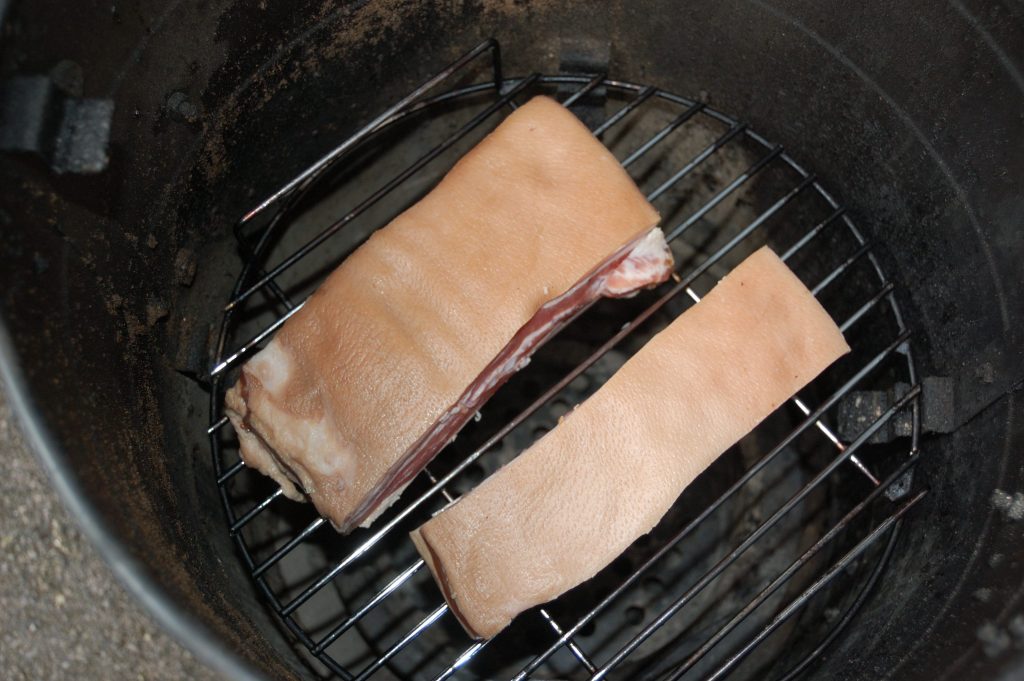
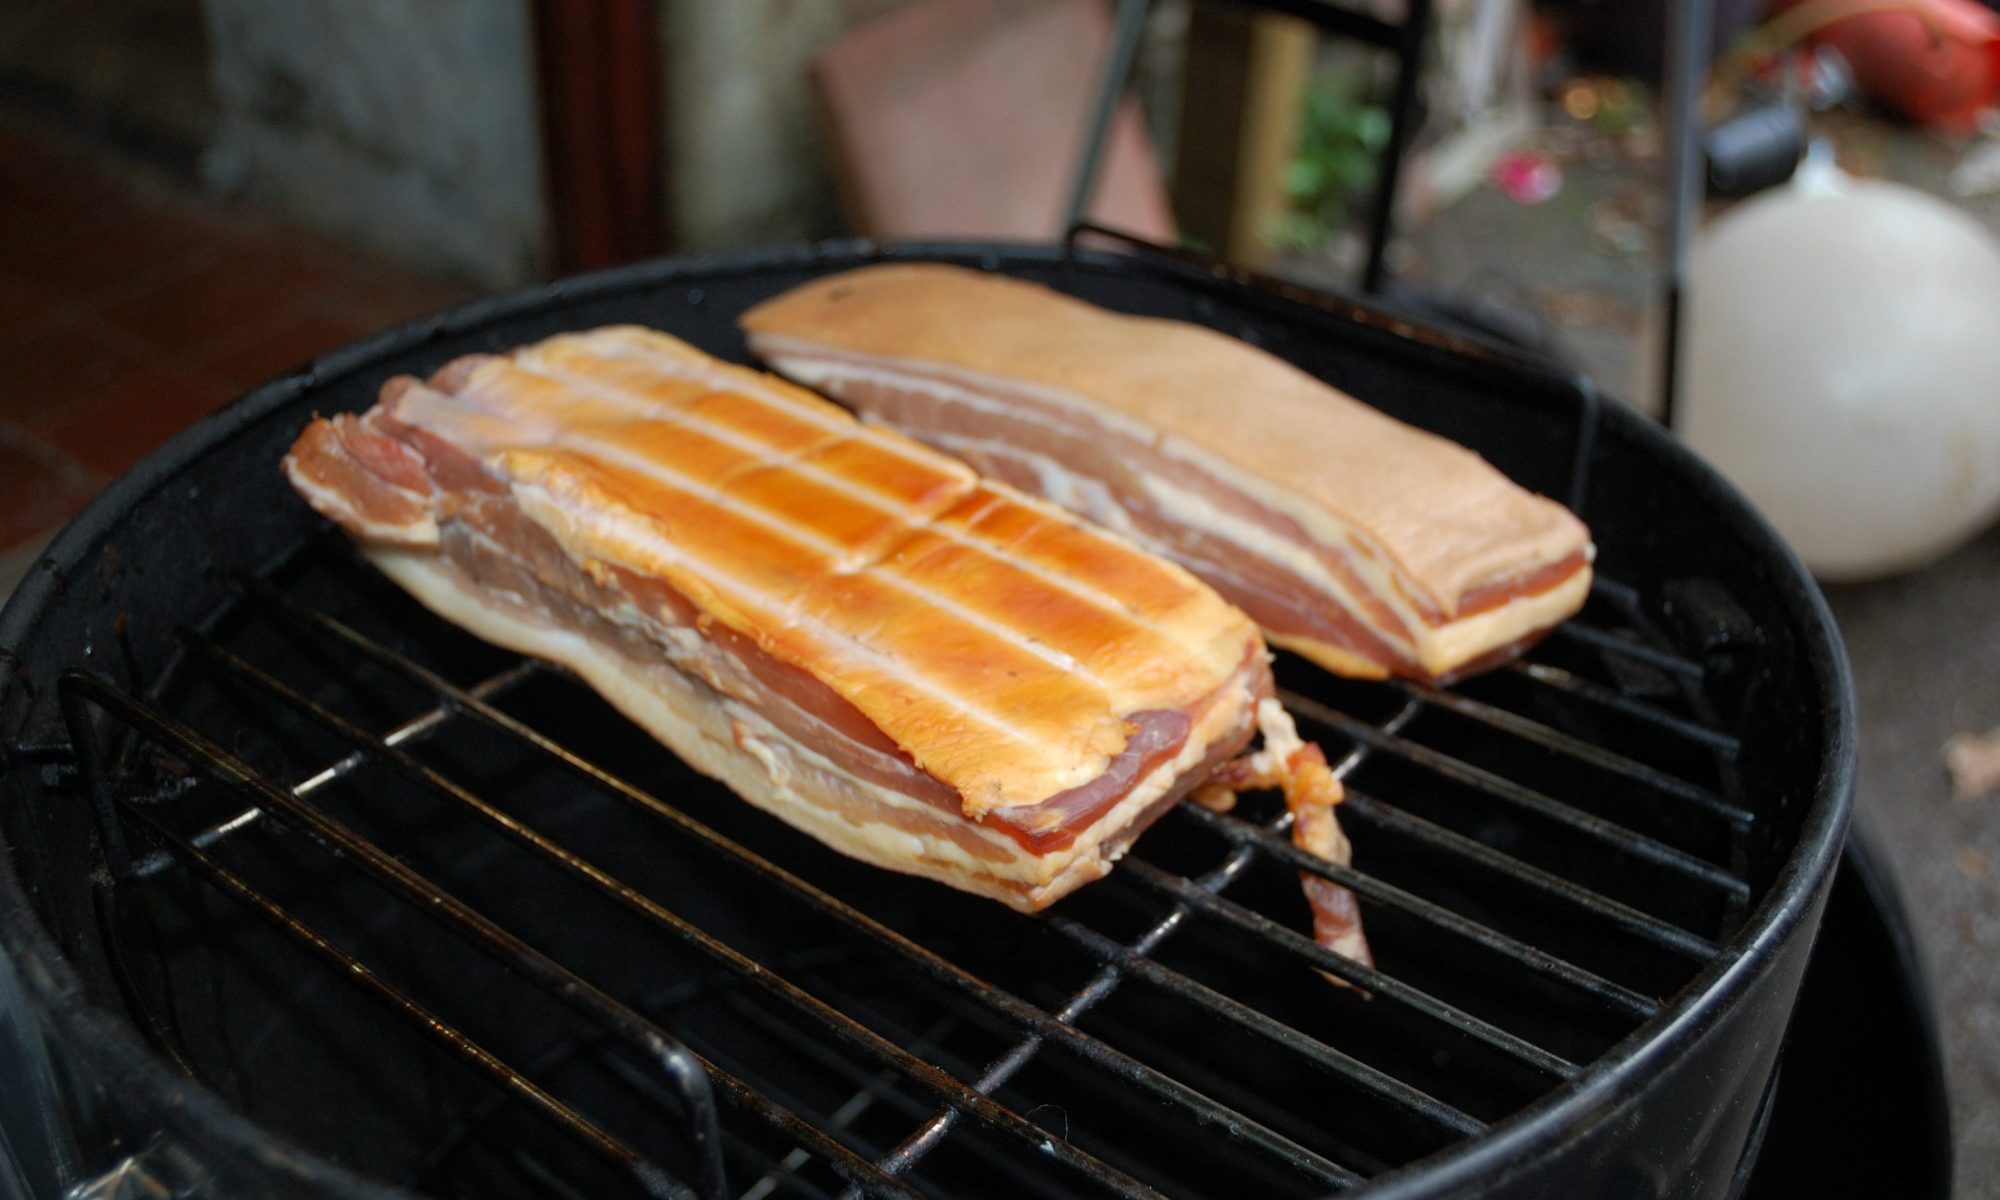
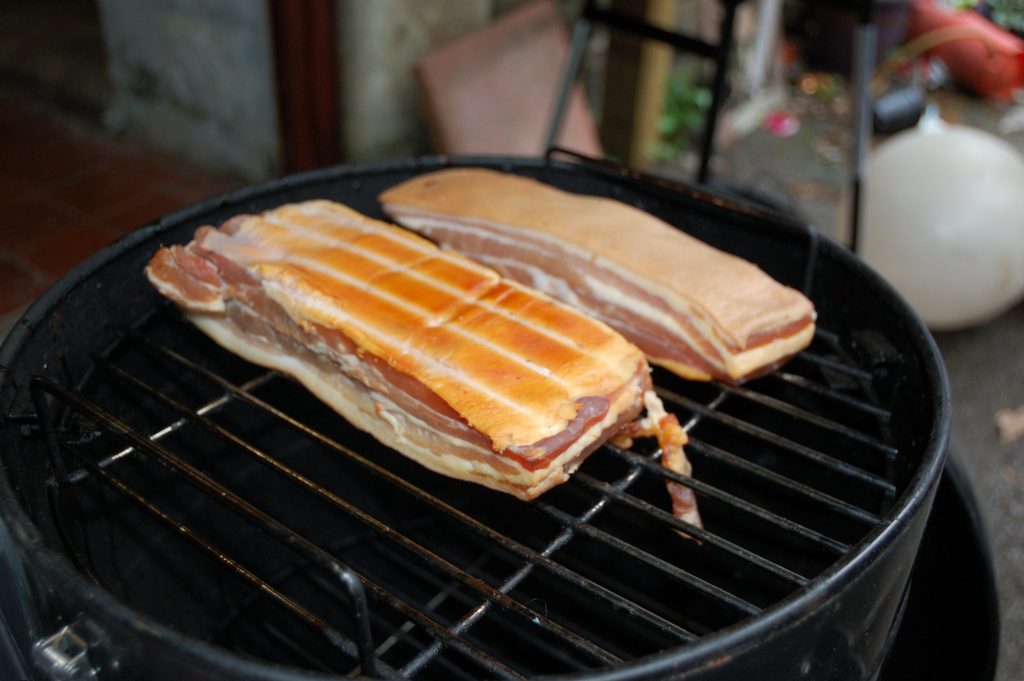
As I hadn’t used the smoke generator before I was fairly tentative and only quarter filled it. The dry cure bacon I had made went on the bottom shelf. On the top shelf a few lumps of cheddar, a Spanish semi soft cheese and a bulb of garlic. Not wanting to ruin anything I was aiming for an 8 hour smoke, which I had read was about right. As it happened the cold smoke generator ran out after about 3 hours. I refilled it to the same amount and set it going again. So after 6 hours of smoking the ProQ stopped for the second time and I was happy to finish there.
This is quite different from my hot smoking where I will cook low and slow over coals for 5 or 6 hours which doesn’t produce any smoke. You only add wood to the coals to generate smoke for 30 minutes to an hour towards the start of the process.
The results
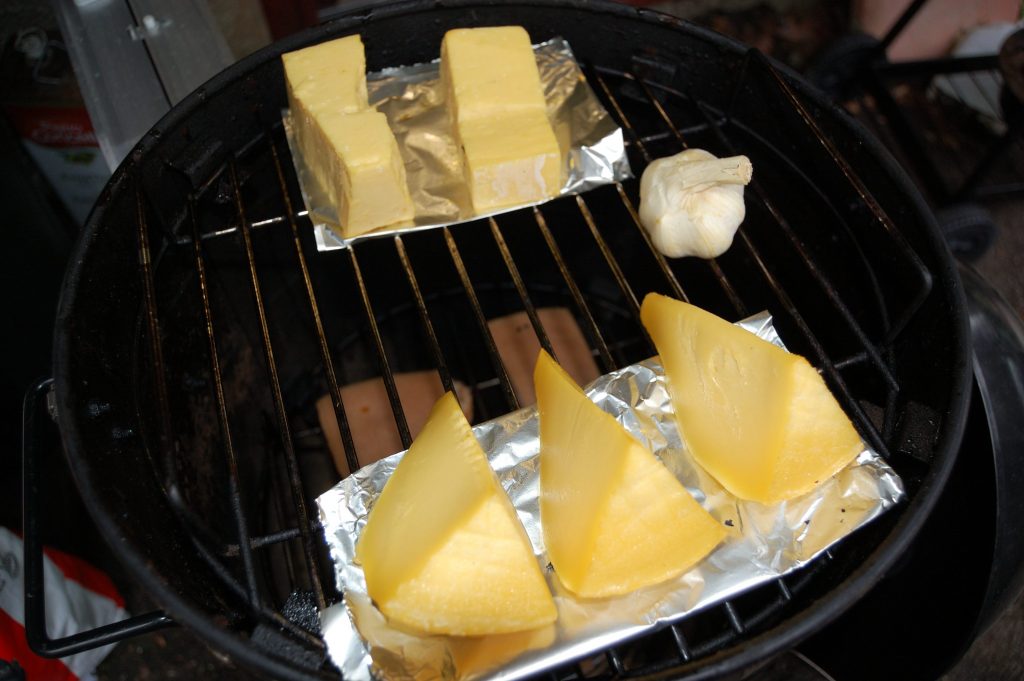
The finished products had taken a subtle tinge, the cheese was a deeper yellow. Bits of the garlic were slightly brown and the underside of the bacon was distinctly brown. Which is unsurpising given it’s proximity to the smoke generator.
Once again internet research suggested that cold smoking products benefit from a rest period. So I have vac packed the bacon and cheese. The bacon I’ll keep packed for 3 or 4 days before trying. It’s still a raw ingredient, and although cured and smoke, I don’t want to wait too long. I’ve bagged it separately so I can maybe let the second piece sit a little longer. The cheese I’ve read needs 3 weeks for the smoke flavour to diffuse well. So I’ve packed that all separately and will be reporting back when I try it. But I did sneak a little bit before bagging! There was a touch of bitterness, with the smoke taste coming through at the end. The cheddar taste was the much better of the two – it’s saltier robust flavour a better match. The bitterness was more obvious against the blander semi soft.
My other cooking and preserving efforts can be found here.