
So unlike the workbench which I finished in two days I have put off completing First Workbench build story for quite some time. What can I say I was distracted by other stories to tell. In my last post I’d completed the legs, stretchers and skirt and was about to move on to assembly.

I was quite pleased with the joints I had produced, the tenon and mortise joints for the bottom stretchers. The rear top stretcher had decent shoulders and was relatively tight and the top front lap joints fit well . Now whilst making the mortises had been a lot of hard work the attenion to detail paid off. I would have been far more annoyed to have rushed the job and made sloppy joints. It was frustrating taking my time but it delivered something I was happy with. I think the lessons I had learnt at Peter Sefton’s Furniture School really paid off here.
Assembling the Trestles
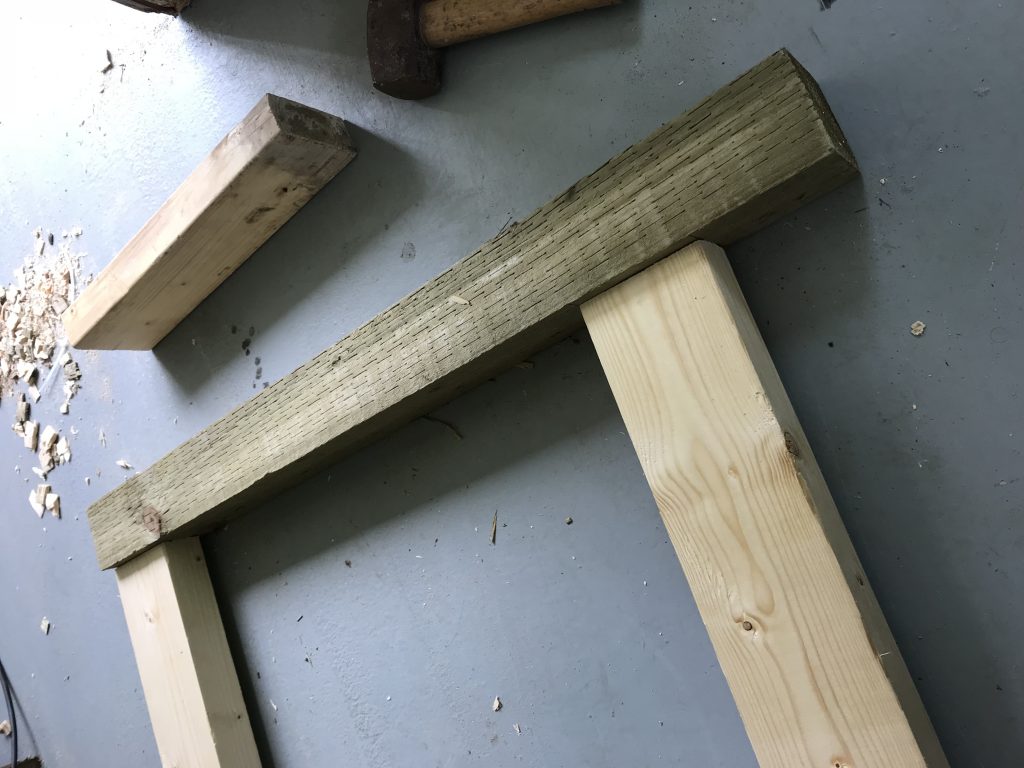
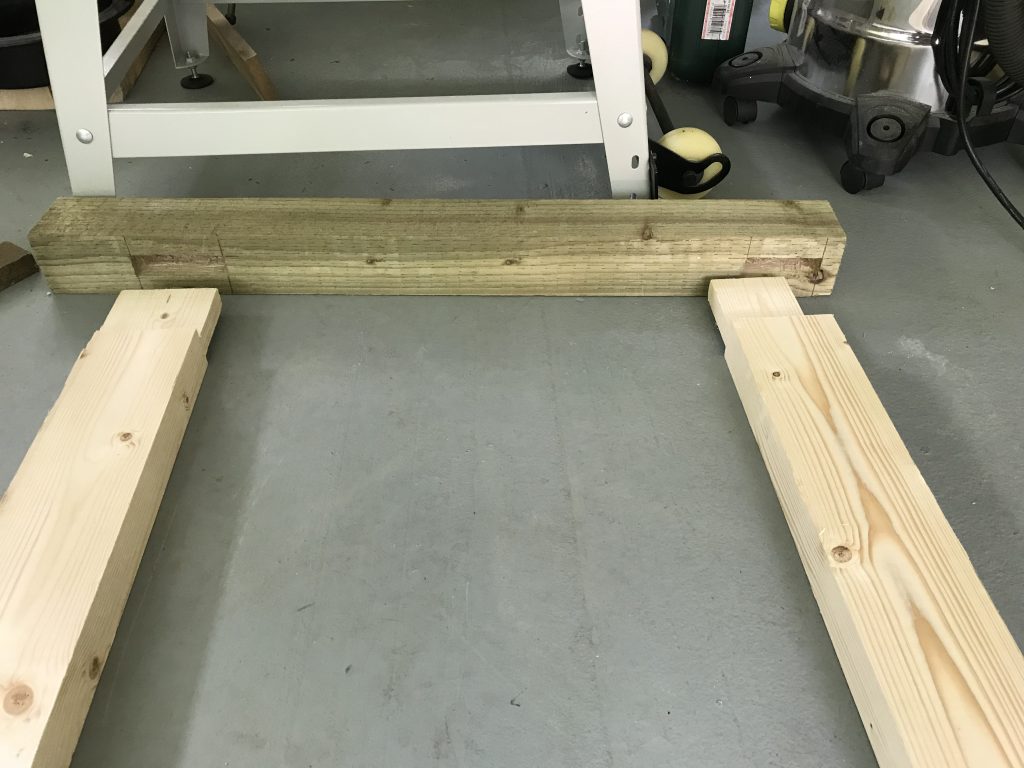
To start assembling the rear trestle first I lay the legs on the ground with the stretchers between them. Then lined up the joints and basically pushed them together. Now that got me so far but as I said the joints were reletively tight, which is what I wanted, so they weren’t going to fully engage without a little encouragement. In this case encouragement was a 4 pound lump hammer and a bit of expendable wood so I wasn’t damaging the trestles.
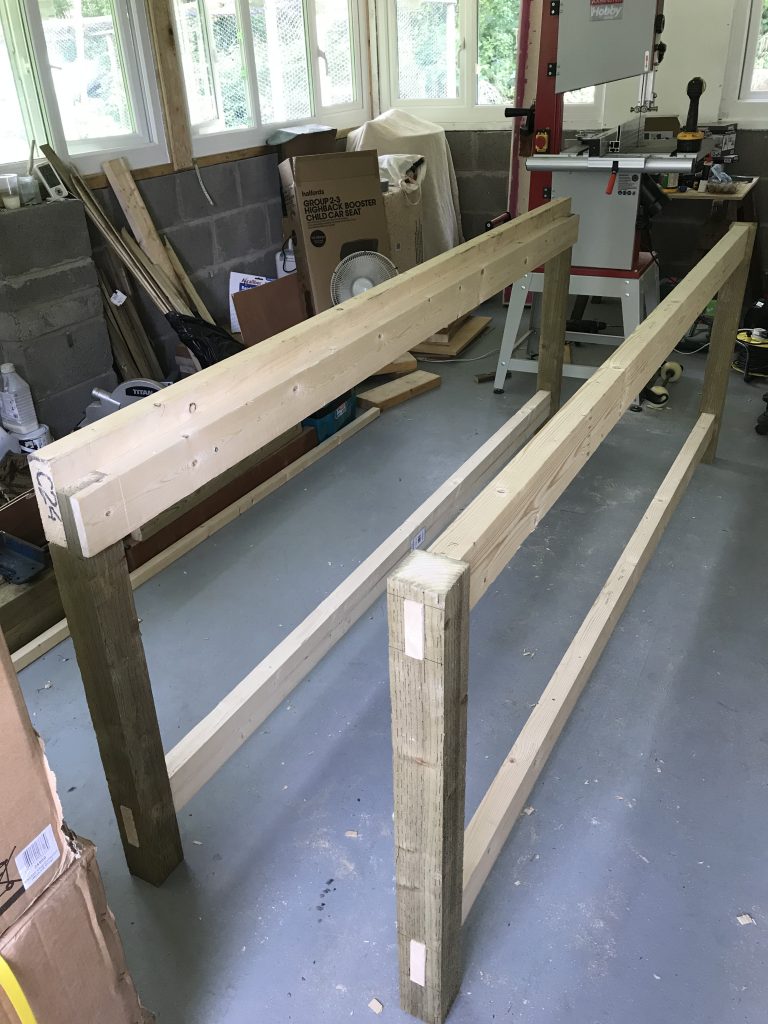
The front trestle had only one mortise and tenon joint with the other a lap joint and went together quite smoothly. As you can see I simply screwed the top front lap joint stretcher to the leg. Making sure the stretcher and leg flush were the top. I attached a 2′ by 6′ accross the front which will form the front skirt of the workbench. The recess between the stretcher top and the skirt top was designed to accomodate a 25mm sheet of birch play and a 25mm sheet of OSB so that when layered the birch ply top would be flush with the skirt. With luck the two trestles both stood upright without too much assistance
Assembling the Workbench
So as tasks go assembling the trestles was relatively straightforward. I did all the work by myself. But assembling the workbench was a bit more tricky insofar as I had designed a 2.4m by 0.6m workbench. With the best will in the World wasn’t going to be able to manhandle the OSB sheet onto the trestles withour some assistance. But much like Paul Daniels had Debbie McGee I had EmmCee [sarc on]always willing to lend a hand[/sarc off].

Once the OSB was resting on the trestles a little aligning the front edge tight with the skirt was required. I used a few self tapping screws to attach the sheet to the stretcher avoiding the thinner lap joint section. I moved the rear trestle to ensure the legs were flush with the corners. The rear of the OSB sheet being the rear of the workbench. And once again screwed the sheet to the stretecher. As you can see at this point there is no front to rear side skirt or stretchers. I primarily wanted to drive my dimensions from the assembled worktop, and I probably hadn’t designed it in enough detail
I continue this in Part 3